Womenswear 2021
The Night Court Inspired Collection: From Fiction to Reality
Technical
Week 12/Stu Vac: Creating Final Pieces
I made all the pieces in final fabrics. I also finalised the leather necklace shape and closure.


Week 11: Adjusting Pattern for Look 2
I put on my first toile for look 2 and planned out the adjustments. I decided to change the neckline of the top and to create an invisible waistband for the pants.


Week 10: Look 1 Base
I sewed the organza dress and out the wire in. It is completely done, ready for the embroidered pieces to be attached.


Week 9: Look 2 Toile
I am completely re designing look 2 from scratch.


Stu Vac: Dress Toile
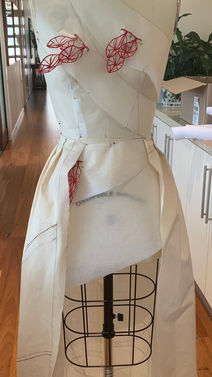
To get the dress toile to fit properly I went through many different versions of it, making many adjustments.
Dress Toile 1


Adjustments to be made to Dress Toile 1 to make it fit me


Dress Toile 2- For this toile I put wire in the seams.


I am not the exact same shape as my mannequin as I have scoliosis and my bust is smaller than the mannequin and waist slightly larger. So I has to make adjustments to make the dress it my body, however now it does not fit the mannequin.
Stu Vac: Dress Toile-Skirt
To get the dress toile to fit properly I went through many different versions of it, making many adjustments.
Patternmaking Skirt


Front Skirt Toile 2


Back Skirt Toile 2


Stu Vac: Dress Toile-Bodice
To get the dress toile to fit properly I went through many different versions of it, making many adjustments.
Adjustments to be made to Front Bodice Toile 1


Front Bodice Toile 2


Front Bodice 3


Adjustments to be made to Front Bodice 3


Front Bodice Toile 4


Back Bodice Toile 1 with Adjustments Marked


Bodice Toile 1


Try On Bodice Toile 1


Week 7: Dress Toile
I got very sick this week so was only able to start on the front bodice of the toile before becoming sick. I made the pattern for the front bodice and then stitched a toile for it. It did not work the way I had hoped so will need to refine the patterns more.


Week 6: Dress Toile
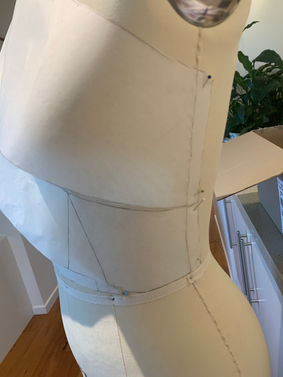
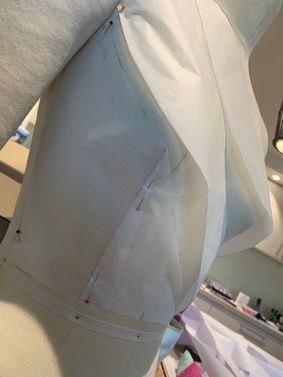
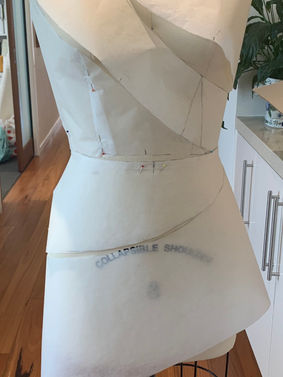
I started pattern making a sculptural dress to attach the embroidery too. I made a base pattern in backing paper to see what it might look like on a body. I am now going to make a paper pattern with seam allowance and then make it in calico.
Pattern making Process for Bodice
Pattern making adjustments to make for Bodice
Pattern making of overskirt
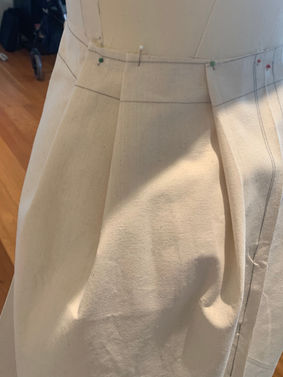
Pattern making of skirt
Overskirt over dress
Dress paper toile


Week 5: Top Toile
Top toile in Cotton Voile, Poplin and Stretch Velvet. Pattern made from drape. I didn't put a closure in the top as I thought with the stretch waistband that I would be able to stretch it over the shoulders, however that wasn't the case and so I had to cut through the centre of the waistband. I am planning on potentially putting a clasp closure there.


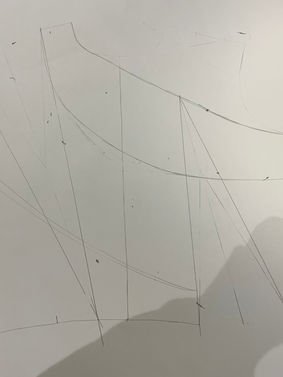
At first I tried to take the drape off the mannequin and trace it directly onto pattern paper, however found that this was not very accurate and so after trying to do about 4 pleats I put it back on the mannequin to think of a different strategy to turn it into a pattern.


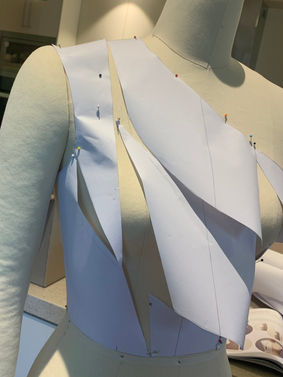
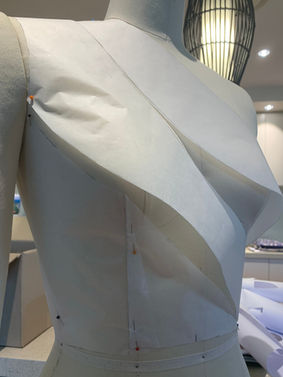
This was the drape on the mannequin with a cotton poplin base underneath for the lining.


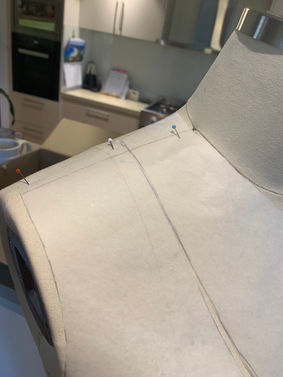
I took the drape off the mannequin again and made a pattern for the lining pieces. I then made an estimate for the average size of the pleats and drew lines on the lining pattern where the pleats would be put.


I cut the pattern up and put 4cm in for each pleat for the back bodice. When I folded the pattern up again it didn't line up properly, so I put the lining pattern over the top of the folded pattern and cut it out so it would be the correct size, this did mean that some of the pleats weren't exactly where I planned them to be but they were close enough.


This is the final back bodice pattern folded and expanded.


I repeated the process with the front bodice but made the pleats 6cm. The front bodice pattern lined up a lot better than the back when folded. I think this is because the back bodice pleats where on an angle whereas the front bodice pleats where straighter.


I cut out the fabric and folded the pleats.


Top and pants toile together.


Drape with silver organza over top and pants to experiment with cloak idea or sheer sleeve idea.


Drape with silver organza over top and pants to experiment with cloak idea or sheer sleeve idea.
Week 4: Pants Toile
Pants toile in jersey. Elastic waistband and side pockets. I need to add 5cm to the length and make the pockets deeper. The final fabrics will be a teal jersey and silver velvet waistband and cuffs. Still thinking about possible textile applications.


Week 3: Drapes
Draping with embroidered organza textile.


Draping with pleather textile.


Notes from Cristian:
-Try another piece of leather between the scale to pad it out
Week 2: Drapes
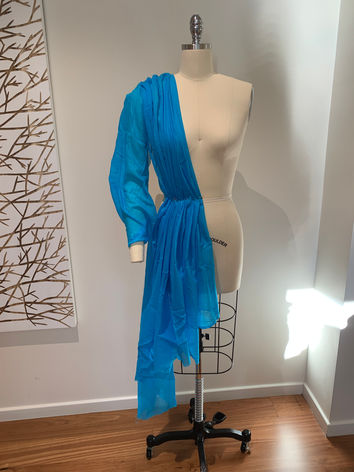
Cotton Voile bodice and sleeve drapes.
Week 1: Drapes


Week 1 Drapes


